Back in the seventies when I was working for one of “The London Designers” the lady who ran the sample garments section showed me this method for attaching a waistband with edge stitching on the top.
It changed my sewing life as a perfect waistband ended up taking minutes!
This tutorial shows the quick and easy way to apply the perfect waistband with edgestitching on the top.
The method works equally well when applying a shirt cuff .
The way shown is only suitable for lightweight fabrics.
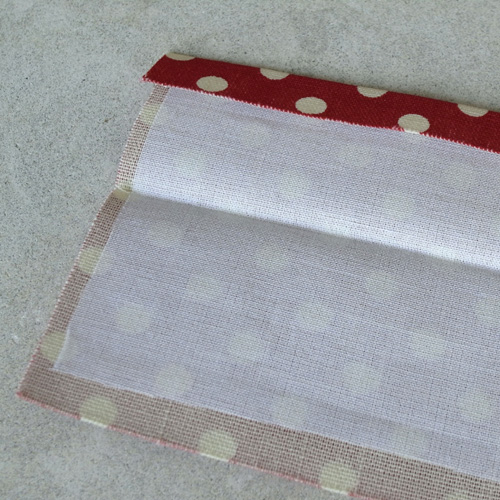
1. Apply your interfacing.
I usually use a lightweight, iron on cotton one and cut it slighly narrower than the width of the waistband.
The weight and type of interfacing is a matter of personal preference depending on how firm you want the waistband to be.
2.
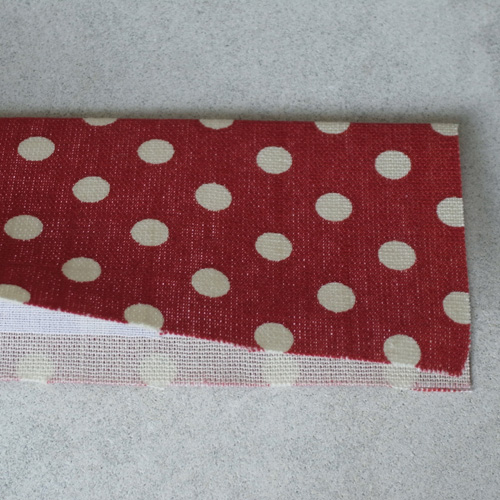
Press your waistband in half.
3.
Press under one edge of the waistband just less than 1.50cm or 5/8 inch which is approximately
13mm 0r 9/16 inch.
4.
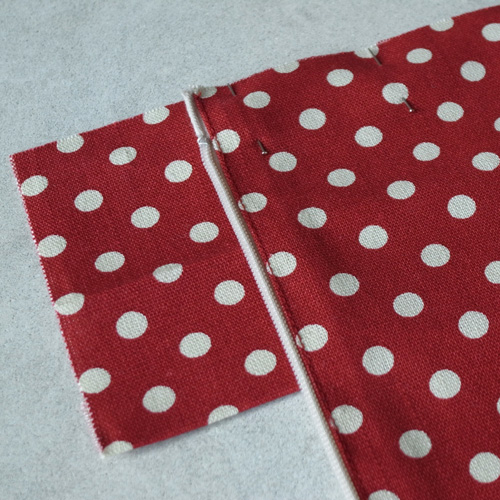
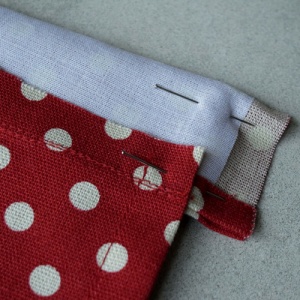
Pin the right side of the waistband to the wrong side of the fabric.
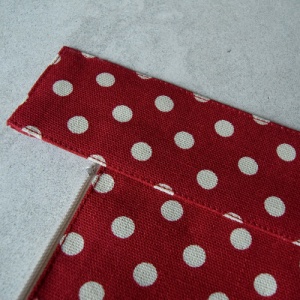
On the right hand side there will be your 1.50cm/5/8 inch seam allowance plus an amount for the button extension. See above image.
On the left hand side there will just be your seam allowance extending out from your finished edge.
5.
Sew the waistband to the skirt from the right side.
6.
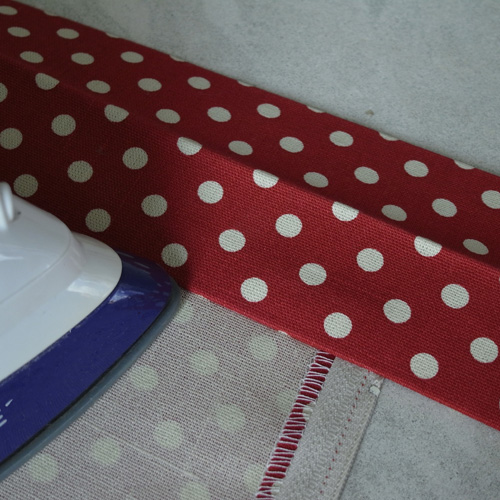
With the tip of the iron press the waistband upwards.
7.
Grade the seam as this helps eliminate bulk.
8.
From the wrong side understitch the waistband upwards going through the waistband and two seam allowances.
Please see our understitching tutorial if you don’t know how.
9.
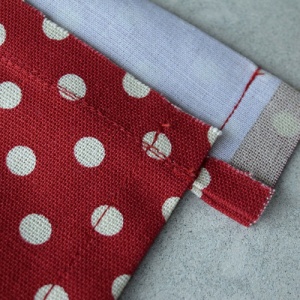
Right hand side from wrong side.
Left hand side from the right side.
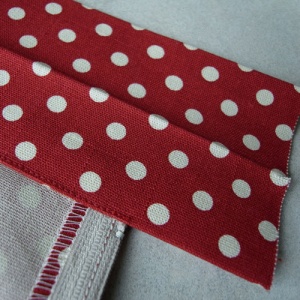
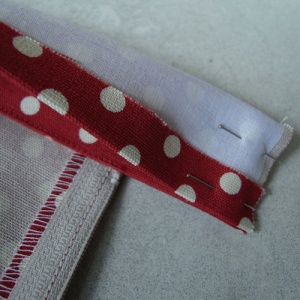
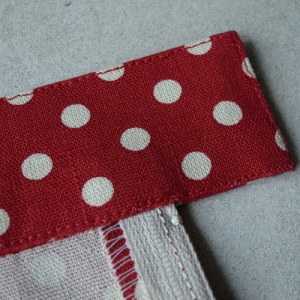
Fold the waistband back on itself as the two images above.
Pin.
Allow the the edge with the pressed turning to lie just beneath the the other edge as on the image above.
When the waistband is turned to the right side this edge will then fall just over the stitch line.
10.
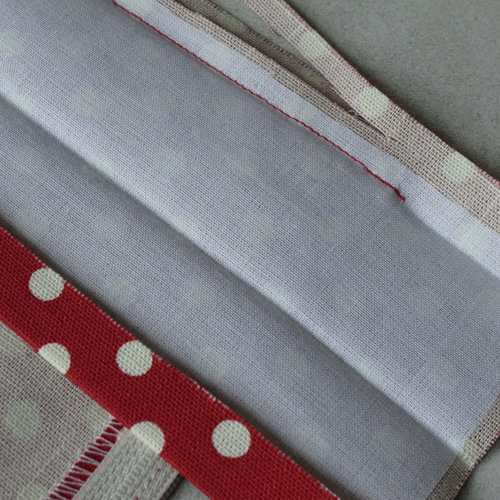
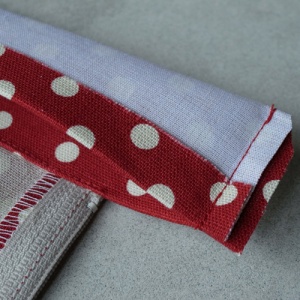
Right hand side from the wrong side.
When stitching the left hand side make sure the stitching is right up to the folded edge of the garment. See above image.
Grade the seam as in the image beneath.
Right hand side with the button extension from the wrong side.
Stitch at the seam allowance distance and then grade the seam as above image.
11.
Turn the waistband to the right side of the garment making sure you push the corners of your waistband out well.
The folded seam allowance edge should lay just over the line of understitching and the stitching that joined the waistband to the skirt.
Pin in place.
12.
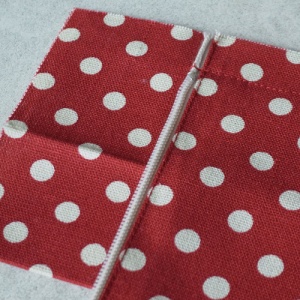
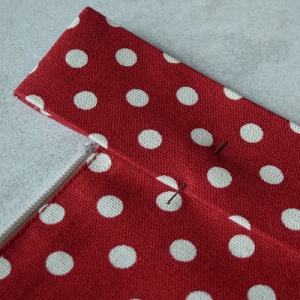
Edgestitch round your waistband from the right side doing the lower, pinned edge first.
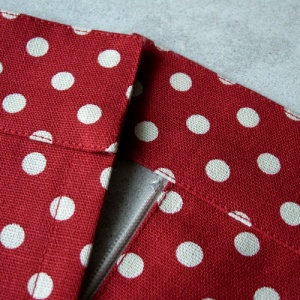
The above image is how it should look on the button extension side.
The image beneath is how it should look on the wrong side.
13.
An image of the finished waistband.
I’ve used many images to try and help you step by step.
Once you’ve done this method once it will seem so easy!
Practice on scraps of fabric and please remember that this method is for lighter weights of fabric only, not medium to heavy weights.
Gill
I remember you showing me this years ago. :) Great tip. I’d forgotten all about it… but I bet it would have come naturally to me when I had to do one again, like many of the little tips you showed. They got absorbed into my sewing skills, and with much gratitude.